14 minute read · April 3, 2023
How to Convert CSV Files into an Apache Iceberg table with Dremio
· Senior Tech Evangelist, Dremio
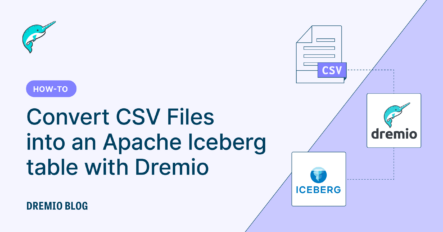
Apache Iceberg is an open table format that enables robust, affordable, and quick analytics on the data lakehouse and is poised to change the data industry in ways we can only begin to imagine. Check out our Apache Iceberg 101 course to learn all the nuts and bolts about Iceberg. The bottom line: Converting your data into Iceberg tables allows you to run performant analytics on the data in your data storage without having to duplicate it in a data warehouse, and keeps the data open so a variety of tools can work with it.
This article explores how you can use Dremio Cloud to easily convert CSV files into an Iceberg table, allowing you to have more performant queries, run DML transactions, and time-travel your dataset directly from your data lakehouse storage.
This article uses a single CSV file for simplicity’s sake, but you can follow the same steps for a dataset consisting of multiple CSV files.
Summary of the steps we’ll take
The Dremio Cloud platform is perfect for this type of task because it acts like an access layer that any compatible source can connect to, allowing you to access data from multiple sources like object storage where your CSV, JSON, Parquet, and other files may be stored, relational databases, or a metastore you are using to catalog your Apache Iceberg tables. Dremio can also run DML operations on Iceberg tables, so you can take advantage of these features to easily convert data from any source into an Iceberg table.
You just need to:
- Connect your Iceberg catalog
- Upload your CSV file or connect a source with a CSV file (like S3)
- CTAS the CSV file into a new Iceberg table in your catalog

Step 1 - Get a Dremio Account
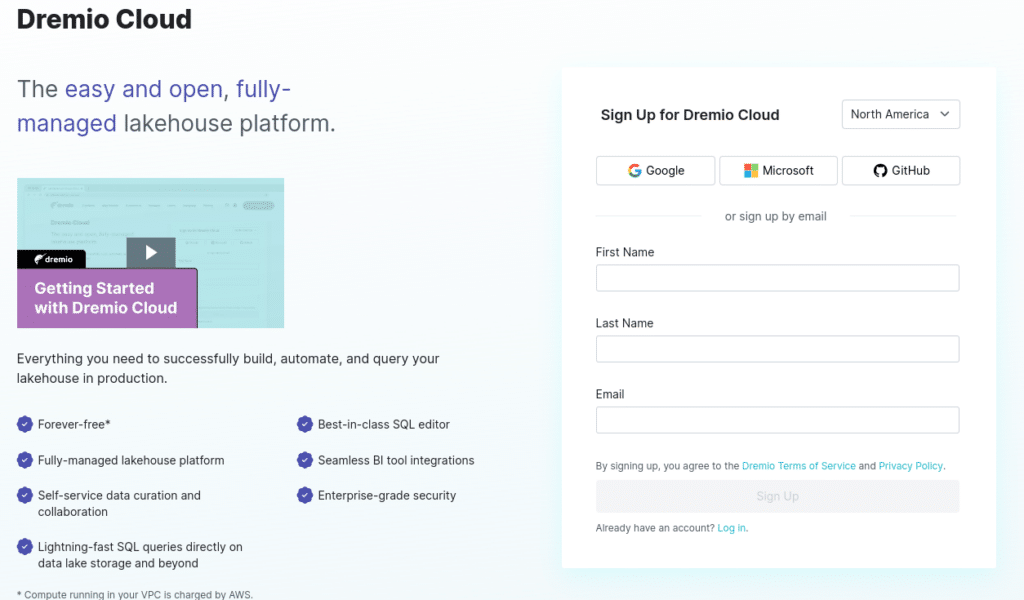
The first step is to get a Dremio Cloud account which offers a standard tier free of software & licensing costs (so the only cost would be AWS costs for any clusters you use to run your queries). You can get started with Dremio Cloud in minutes by following the steps highlighted in the video on the getting started page.
Step 2 - Connect your Iceberg Catalog
You currently have three choices for your Iceberg catalog when using Dremio Cloud to write to Iceberg tables: AWS Glue, AWS S3, and Project Nessie. These can all be connected by clicking the “Add Source” button in the bottom left corner of the Dremio UI and selecting the source you want to connect.

If using an AWS Glue source:
In the source settings under “Advanced Options” add a property called “hive.metastore.warehouse.dir”. This will determine the S3 folder any Iceberg tables you create in the catalog will be written to.

If using an S3 source:
In the source settings under “Advanced Options” make sure to set the root path to the S3 directory you want the source to default to, this will be where Iceberg tables will be created in this catalog.

If using a Dremio Arctic source:
If using Dremio’s Arctic catalog as your Apache Iceberg catalog a bucket associated with your Dremio Sonar’s project-associated cloud will be assigned automatically (this can be changed in the settings of the source if you want).
Now you have two approaches you can use going forward to load your CSV data into an Apache Iceberg table:
- CTAS – The CSV must be a dataset in your Dremio Account can then create a new table via a “CREATE TABLE AS” statement from that CSV file. This is great if the table does not yet already exist.
- COPY INTO – You tell Dremio to copy the contents of CSV/JSON files into an existing Apache Iceberg table.
Step 3 - Load our CSV data
There are two ways to bring a CSV file into Dremio. You can either connect a cloud object storage source like S3 that has CSV files in it or you can upload the file directly into your Dremio account.

To keep it simple, if you click on “add source” you’ll see a “Sample Source” under the object storage category that has all sorts of data you can use for demonstration.

You should now have a source called “Samples”. There is a CSV “zip_lookup.csv” in this sample source that you will want to promote to a dataset. To do so click on the “Format File” button.

Then make sure to select “extra field names” and set the line delimiter to Unix and promote the file.

Click save, and you are ready to proceed.
Step 4 - Converting a CSV file into an Iceberg table
After formatting the CSV file into a dataset it should automatically bring you to this dataset in the UI. When viewing the dataset you’ll see the SQL Editor for editing and running SQL statements, along with the following options:
- Data – This is the current screen with the SQL Editor
- Details – Here you can write and view documentation on the datasets wiki and other information
- Graph – Here you can see a datasets lineage graph for where that dataset comes from within Dremio
- Reflections – Here you can enable data reflections to further accelerate queries on a particular dataset
Click the “Run” button to run the “Select *” query and to see that your data was promoted correctly (all the column headings should be there).

Off to the right, you’ll see an icon you can click to expand the panel that allows you to easily drag and drop your data into your queries, saving you time from having to type long namespaces.

Then you can use a CREATE TABLE AS statement to take the data from the CSV and write it to a new table in your desired Iceberg catalog.
CREATE TABLE awss3.zip_example
AS (SELECT* FROM Samples."samples.dremio.com"."zip_lookup.csv");
The image above uses an S3 source but when using any of the three catalogs, the namespace for your new table should look like the following:
- S3:
name_of_s3_source.new_table_name - AWS Glue:
name_of_glue_source.existing_glue_database.new_table_name - Project Nessie:
name_of_nessie_source.folder_name.new_table_name
Once you run the query, you’ll get a confirmation message that tells you where the table was written:

Step 5 - Using the COPY INTO approach
The COPY INTO command allows you to copy the contents of CSV, JSON, and other files into an Apache Iceberg table. This can be from a single file or a directory of files. This is particularly useful when adding data from multiple files or making multiple additions at different times since it is does not create a new table like the CTAS statement. COPY INTO will also take the values from CSV and coerce them into the schema of the target table, saving you from doing type conversions manually.
Let’s make an empty table with our desired schema.
CREATE TABLE awss3.zips (id INT, Lon DOUBLE, Lat DOUBLE, zip VARCHAR);
Then you can use the COPY INTO commands to copy the contents of the CSV into the existing table (make sure to specify the delimiter for this particular file).
COPY INTO awss3.zips
FROM '@Samples/samples.dremio.com/zip_lookup.csv'
FILE_FORMAT 'csv' (RECORD_DELIMITER '\n');
A couple of benefits of the COPY INTO approach:
- It will use the schema of the destination table, whereas CTAS won’t know the desired schema and will make all fields a text field
- You can add data from a single file as well as from a directory of files
The Iceberg Advantage
Now that your data is in an Iceberg table you can take advantage of full DML from Dremio to run updates, deletes, and upserts on your data.
UPDATE zips SET zip = '11111' WHERE zip = '94110'
DELETE FROM zips WHERE zip = '11111'
MERGE INTO zips z
USING (SELECT * FROM zips_staging) s
ON n.id = s.id
WHEN MATCH THEN UPDATE SET lat = s.lat, lon = s.lon, zip = s.zip
WHEN NOT MATCHED THEN INSERT (id, lat, lon, zip) VALUES (s.id, s.lat, s.lot, s.zip);
Conclusion
Not only can you query this new Iceberg table using your Dremio account but you can also work with this table using other tools like Apache Spark, Apache Flink, and any other tool that support Apache Iceberg and connect to your catalog, giving you open access to your data with metadata that enables smarter query planning to speed up performance and lower your cloud compute bill.
Sign up for AI Ready Data content
